After months of waiting, wondering, and checking on our cows multiple times a day, it finally happened…
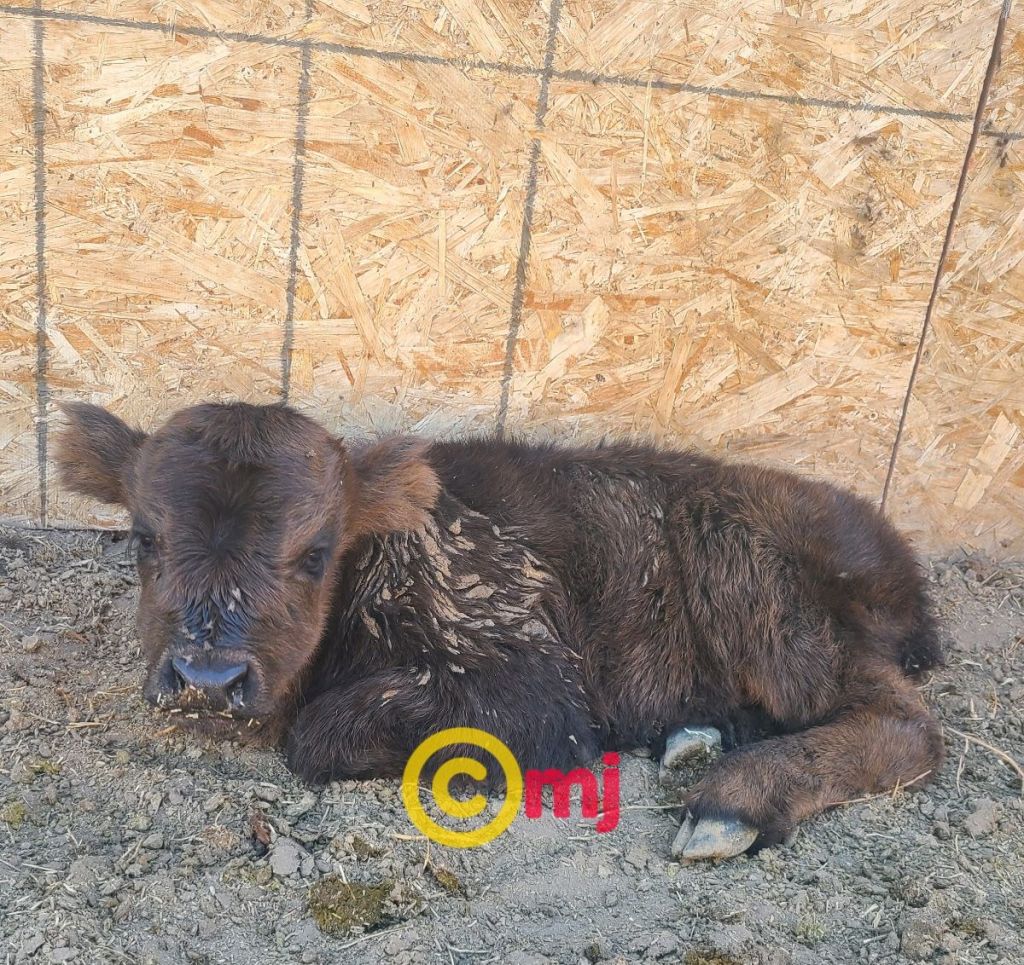
Our very first calf was born here on our homestead! It’s hard to describe the feeling of seeing something you’ve been looking forward to for so long finally happen. All the anticipation, excitement, and maybe just a little bit of worrying melted away the moment we saw that healthy little calf next to its mama.
This is one of those milestones that makes all the work of homesteading worth it. Early mornings, late-night checks, and patiently waiting – wondering, all led up to this moment.
Watching a mama care for her baby and seeing that little calf find its feet is something I’ll never get tired of.
Of course, after sharing the exciting news, the comments started rolling in. “That can’t be a newborn!” “Look how big it is!” Well… believe it or not, that’s exactly how calves are born!
I know it surprises people who haven’t been around cattle before, but newborn calves are much bigger than baby goats or lambs. They come into the world with long legs, big feet, and they’re usually up trying to walk not long after they’re born.
So yes, our calf really is a newborn. It’s just a healthy baby cow doing what healthy baby cows do.
We’re soaking up every minute of this new chapter and couldn’t be happier to welcome the first calf ever born on our homestead. Here’s to many more healthy mamas, happy calves, and unforgettable moments in the years to come. And don’t worry… I have a feeling this little one is going to keep us entertained for a long time.
When people think of bucks, they often picture a stinky, pushy, overly aggressive goat that no one really wants to be around.
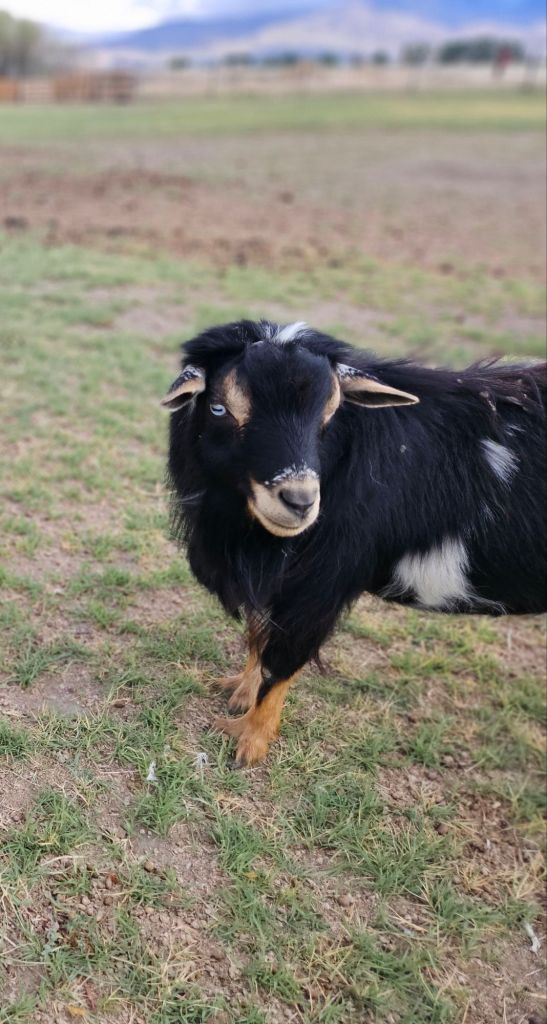
Then there’s Gabriel.
Gabriel was the next buck we added to our homestead. A friend of mine had Gabriel along with another goat that ended up joining our herd as well. The moment my daughter saw him, she fell completely in love. Of course, as time went on, something funny happened… He slowly became my goat.😅😅😅
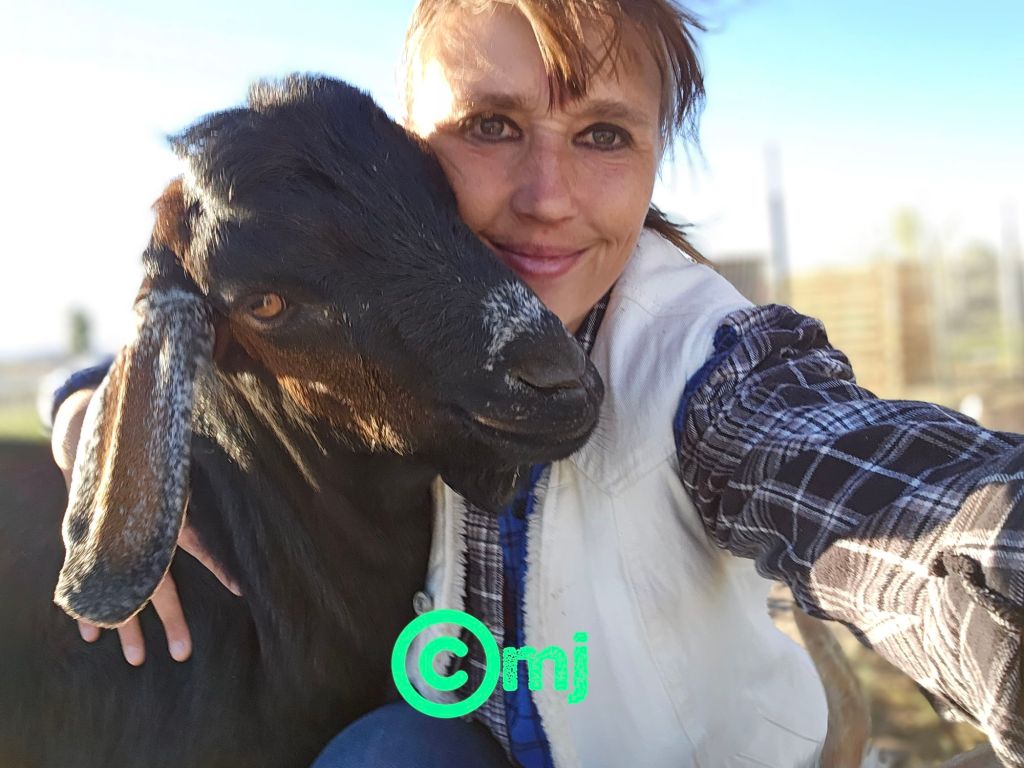
Gabriel has a personality that’s hard not to love. He is incredibly gentle, respectful with the does, and never goes looking for trouble. He’s the kind of buck that happily walks right beside you like an old friend. Put a harness on him, and he acts like he’s been doing it his whole life.
I always joke that one day I’m going to take him to Tractor Supply. We’ll stroll through the aisles together, and I’ll proudly show him exactly where I buy his oats. Knowing Gabriel, he’d probably enjoy every minute of it.
Even routine chores are easy with him. Whether it’s trimming his hooves or standing on the milk stand just for a brushing, he’s patient and cooperative. He reminds me that not every buck fits the stereotypes people love to talk about.
For the longest time, I thought Frank was the king of the herd. But after we added more bucklings to the buck pen, I started paying closer attention to how everyone interacted.
That’s when I realized the real herd king was Gabriel.
He doesn’t rule with force or bullying. He leads quietly. The younger bucklings naturally respect him, and he’s just as gentle with them as he is with the does. Watching him interact with the rest of the herd has been a reminder that true leadership doesn’t always come from being the loudest or the toughest.
Sometimes it comes from being calm, confident, and kind.
Gabriel may not know he’s the king of our herd, but around here, he’s earned that title. He’s proof that a buck can be strong without being aggressive, and that the best leaders often lead by example.
And yes… one of these days, I really might take him to Tractor Supply. I can already picture people stopping to pet him while he calmly walks the aisles like he’s there to inspect the quality of this year’s oat supply. Honestly, he’d probably have better manners than a few shoppers I’ve seen. If he somehow made it to the checkout with a bag of oats in the cart, I don’t think any of us would be surprised. We’re pretty lucky to have our gentle herd king.
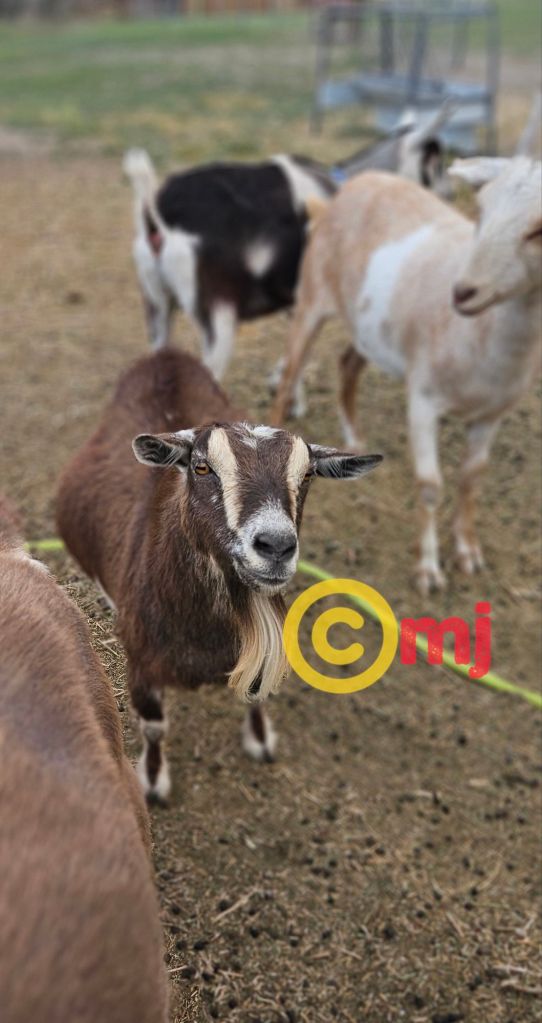
Every herd has that one goat that has earned her title, and around here that goat is Dorcas… the grandma of the herd.
Dorcas was our next Nigerian Dwarf doe to join our homestead, and honestly, her story is a little funny, a little random, and very much a “how does this even happen?” kind of story.
A friend of ours was coming back from a horse show when she stopped to get gas. While she was there, a guy walked up and started talking to her. Somehow, the conversation turned into goats… and before you know it, that random gas station conversation led to Dorcas becoming part of our herd.
And now, looking back, that funny little moment brought us not just Dorcas, but two of her daughters as well.
Dorcas is the proud mama of Mazikeen and Nyx, giving us our heard queen! I hope she holds her head up everytime when she sees Mazikeen leading the way of the herd. It’s pretty special watching the next generation grow and seeing pieces of their mom’s personality come through.
We estimate Dorcas to be around six years old, and from what we know, she has kidded three times. She has definitely earned her grandma status.
She is a wonderful mother and has done an amazing job raising her babies.
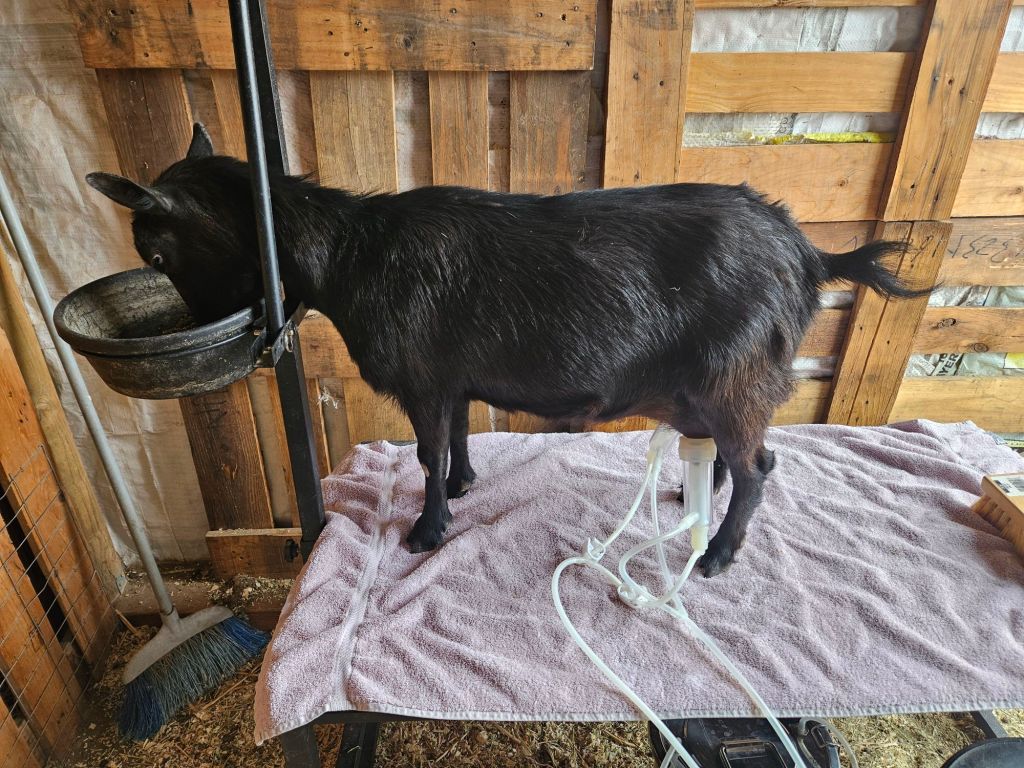
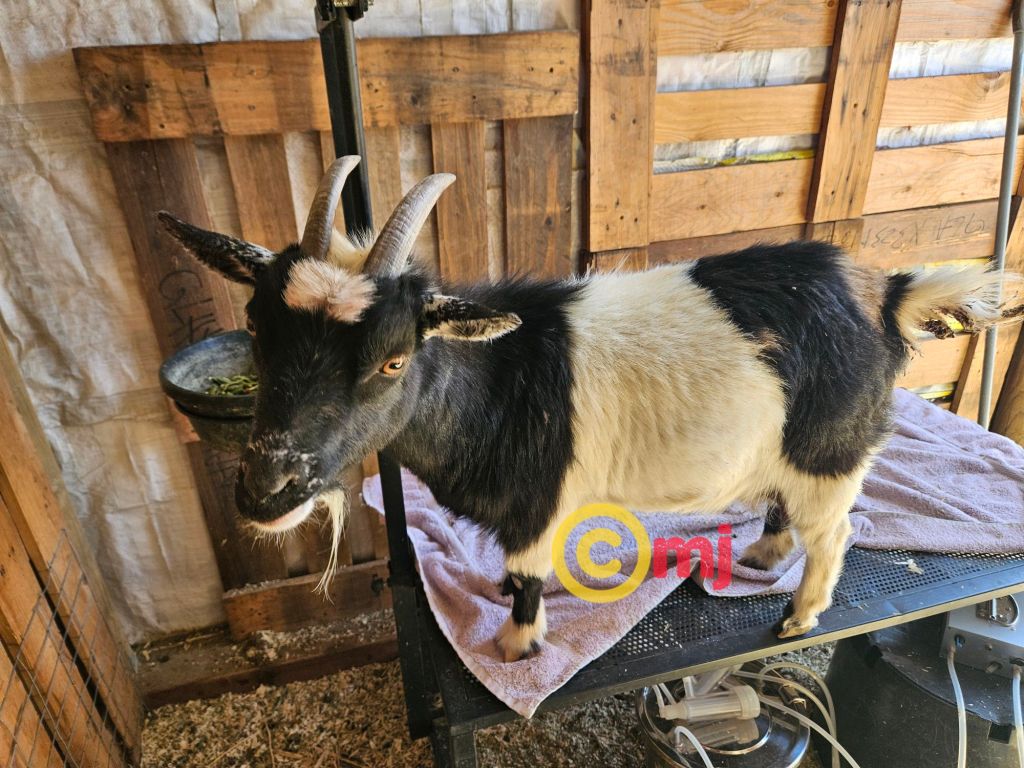
Now… let’s talk about the milking stand. Dorcas and the milking stand have a complicated relationship. 😂
She is sweet, loving, and wonderful… until you ask her to stand still for milking. Then she suddenly remembers she has legs and she knows exactly how to use them. She will buck and kick like she is trying out for a rodeo.
Yes, I know… maybe I need more hobbies than trying to convince a goat that the milking stand is not the enemy.
But we aren’t giving up on her yet! Dorcas will be getting another chance. I plan on working with her one more time and seeing if we can come to an agreement.
Because the funny thing about goats is, they all have their own personalities. Some are easy, some are stubborn, some test your patience… and some make you laugh every single day.
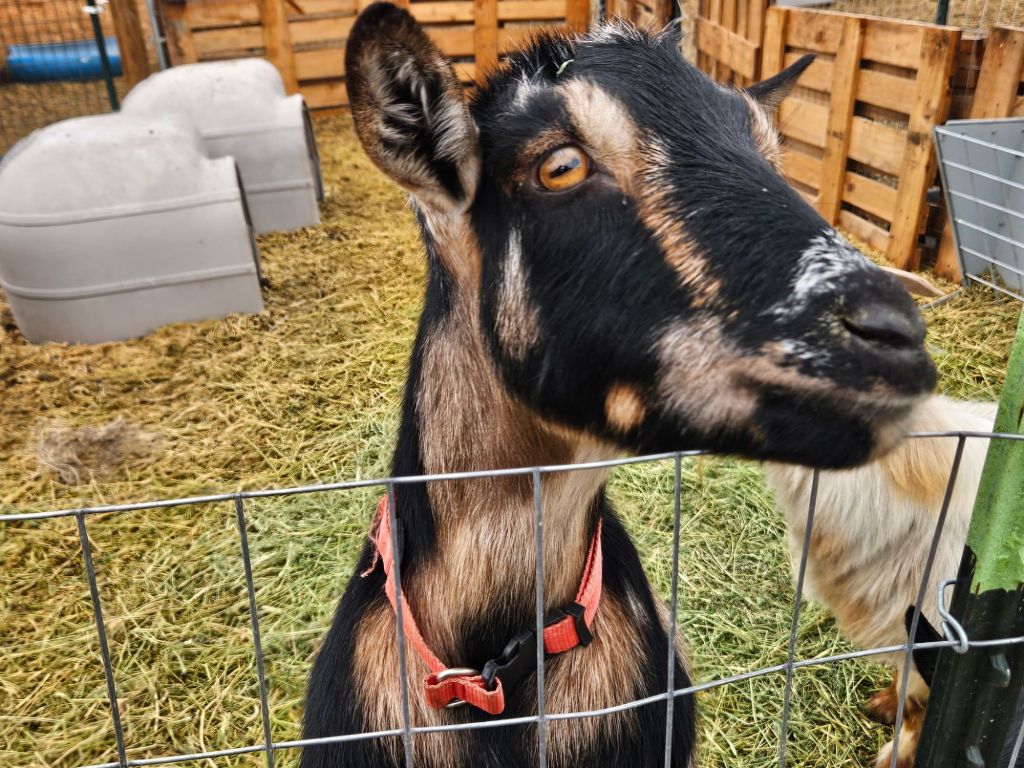
When Dorcas isn’t on the milking stand, she is the sweetest girl. She loves chin rubs, attention, and of course… treats. She has that grandma personality where she knows she is special and she knows exactly how to get what she wants.
Dorcas may not be the easiest goat to milk, but she is part of our story, part of our herd, and we wouldn’t trade her for anything.
Welcome to the herd, Dorcas… grandma may have a little attitude, but we love you anyway. ❤️
Dorcas ” grandma ” ( everyone asks where did, Dorcus get her name from? She was named after the character in 1954 movie Seven Brides for Seven Brothers)
Every herd has that one goat that has earned her title, and around here that goat is Dorcus… the grandma of the herd.
Dorcus was our next Nigerian Dwarf doe to join our homestead, and honestly, her story is a little funny, a little random, and very much a “how does this even happen?” kind of story.
A friend of ours was coming back from a horse show when she stopped to get gas. While she was there, a guy walked up and started talking to her. Somehow, the conversation turned into goats… and before you know it, that random gas station conversation led to Dorcus becoming part of our herd.
And now, looking back, that funny little moment brought us not just Dorcus, but two of her daughters as well.
Dorcus is the proud mama of Mazikeen and Nyx, giving us our heard queen! I hope she holds her head up everytime when she sees Mazikeen leading the way of the herd. It’s pretty special watching the next generation grow and seeing pieces of their mom’s personality come through.
We estimate Dorcus to be around six years old, and from what we know, she has kidded three times. She has definitely earned her grandma status.
She is a wonderful mother and has done an amazing job raising her babies.
Now… let’s talk about the milking stand. Dorcus and the milking stand have a complicated relationship. 😂
She is sweet, loving, and wonderful… until you ask her to stand still for milking. Then she suddenly remembers she has legs and she knows exactly how to use them. She will buck and kick like she is trying out for a rodeo.
Yes, I know… maybe I need more hobbies than trying to convince a goat that the milking stand is not the enemy.
But we aren’t giving up on her yet! Dorcus will be getting another chance. I plan on working with her one more time and seeing if we can come to an agreement.
Because the funny thing about goats is, they all have their own personalities. Some are easy, some are stubborn, some test your patience… and some make you laugh every single day.
When Dorcus isn’t on the milking stand, she is the sweetest girl. She loves chin rubs, attention, and of course… treats. She has that grandma personality where she knows she is special and she knows exactly how to get what she wants.
Dorcus may not be the easiest goat to milk, but she is part of our story, part of our herd, and we wouldn’t trade her for anything.
Welcome to the herd, Dorcus… grandma may have a little attitude, but we love you anyway. ❤️
Dorcus ” grandma ” ( everyone asks where did, Dorcus get her name from? She was named after the character in 1954 movie Seven Brides for Seven Brothers)
Nephilim is the sister of Frank and the half-sister of Nightmare. From the very beginning, she has always been her own kind of goat.
When Nephilim was a kid, she was just like her siblings — jumping, playing, and getting into the normal goat trouble. Of course, one of her favorite places to be was jumping in the hay feeder because apparently goats believe everything is a playground. 😂
But when she wasn’t climbing around and causing a little chaos, Nephilim was perfectly happy just being with you. She was the kid who would sit next to you or find the perfect shady spot and just relax.
We would joke that she looked and acted like a donkey. And honestly… sometimes I have to admit, she had a little bit of a sneaky side too.
She had that look like she was quietly keeping an eye on everything happening around her. You never knew if she was just relaxing or deciding what kind of goat adventure she wanted to get into next.
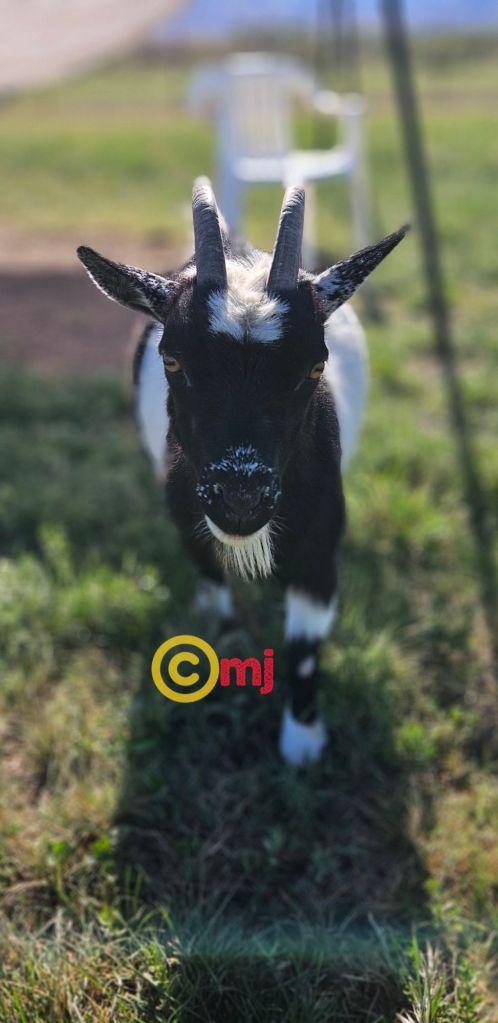
Nephilim has the most beautiful coloring, and her lovely moon spots make her stand out. I was so excited to see what her babies would look like when she kidded.
Of course, goats have their own plans. None of her kids looked like her. Not even a little. Lol. But that’s goats for you — you can have all these expectations, and they just do what they want.
Even though Nephilim was a first-time mom, she did an amazing job. She stepped into motherhood and handled it so well. She kidded sometime in the morning. It was a bice surprise to cone out and see she had done it without needed any assistance. She has also been doing great on the milk stand.
Most days, when it’s time to milk, Nephilim comes when she’s called. She knows the routine and knows exactly where she needs to go. But every once in a while… I’ll call, “Nephilim!” And there she is, relaxing in the shade like she doesn’t have a job to do. I’ll say, “Nephilim, remember you got to be milked?” She’ll look at me like, “Oh yeah… that’s right.” Then she gets up, walks over, and goes to wait her turn like she didn’t just completely forget she was supposed to be working. 😂
Nephilim is one of those goats that makes you laugh because she has such a big personality. She’s sweet, she’s funny, she’s a little lazy sometimes, and she definitely keeps us entertained.
But she’s our Nephilim, and we love her exactly the way she is.
It’s hard to believe we’ve had Frank for two years now. When we brought him and his sisters home, we were completely in love. They were adorable little Nigerian Dwarfs with big personalities packed into tiny bodies.
Of course, everyone had advice.
“That buck is going to smell.”
“He’s going to break out of every fence.”
“Just wait until rut season.”
You know… all the usual buck warnings. And while some of those things can absolutely be true, Frank has always been a little different. I know that probably sounds crazy to some goat owners, but it’s true.
When we first went to pick up him and his sisters, Frank wasn’t actually the buckling we had chosen. We had another little guy picked out, but the breeder called and explained that he wasn’t doing well after being disbudded. She suggested we take a look at the other bucklings instead.
So my daughter and I climbed into the buckling pen and sat there watching the chaos unfold. Bucklings were jumping on everything. Running circles around each other.
Bouncing off walls. Doing all the things baby goats do.
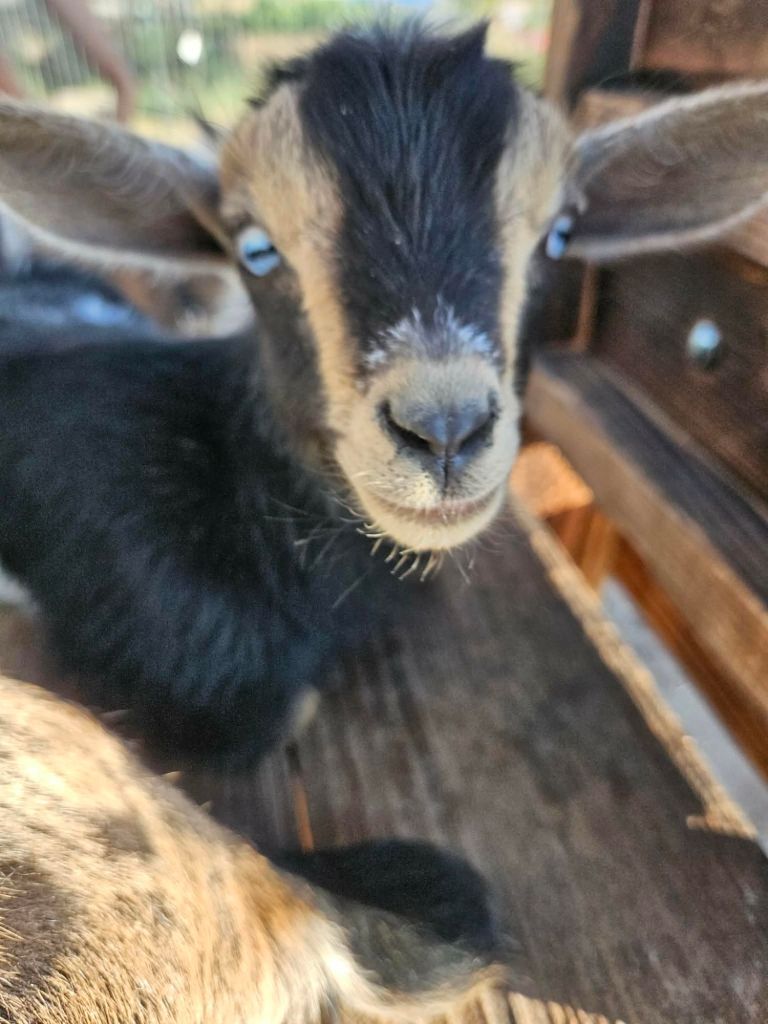
And then there was Frank. Sitting there quietly, staring at me with those beautiful blue eyes. For some reason, I couldn’t stop looking at him. He walked over to me and I had this feeling deep in my gut that he was going to be a good boy.
So Frank came home with us. Now, before all the experienced goat owners start laughing, yes… Frank eventually became bucky.
He’s a buck. That’s part of the job description. He discovered girls. He discovered that he was incredibly handsome. And he discovered all the wonderful habits that make buck owners shake their heads.
But one thing Frank never became was aggressive.
He has always been respectful and easy to handle.
For a while, he even wore an apron to help prevent any surprise breeding adventures. Frank wasn’t exactly thrilled with the fashion statement, but he tolerated it.
As our herd grew, we quickly realized that if we were going to keep Frank—and probably add more bucks in the future—we needed a dedicated buck pen.
That decision ended up changing our homestead forever.
What started with one little blue-eyed buckling sitting quietly in a pen became the beginning of our buck herd.
Two years later, Frank is still here, still charming visitors, still proving that not every buck fits the stereotype.
Sure, he has his buck moments.
But every time I look at him, I remember that day in the buckling pen when something told me he was the one.
And for once, my gut was absolutely right.
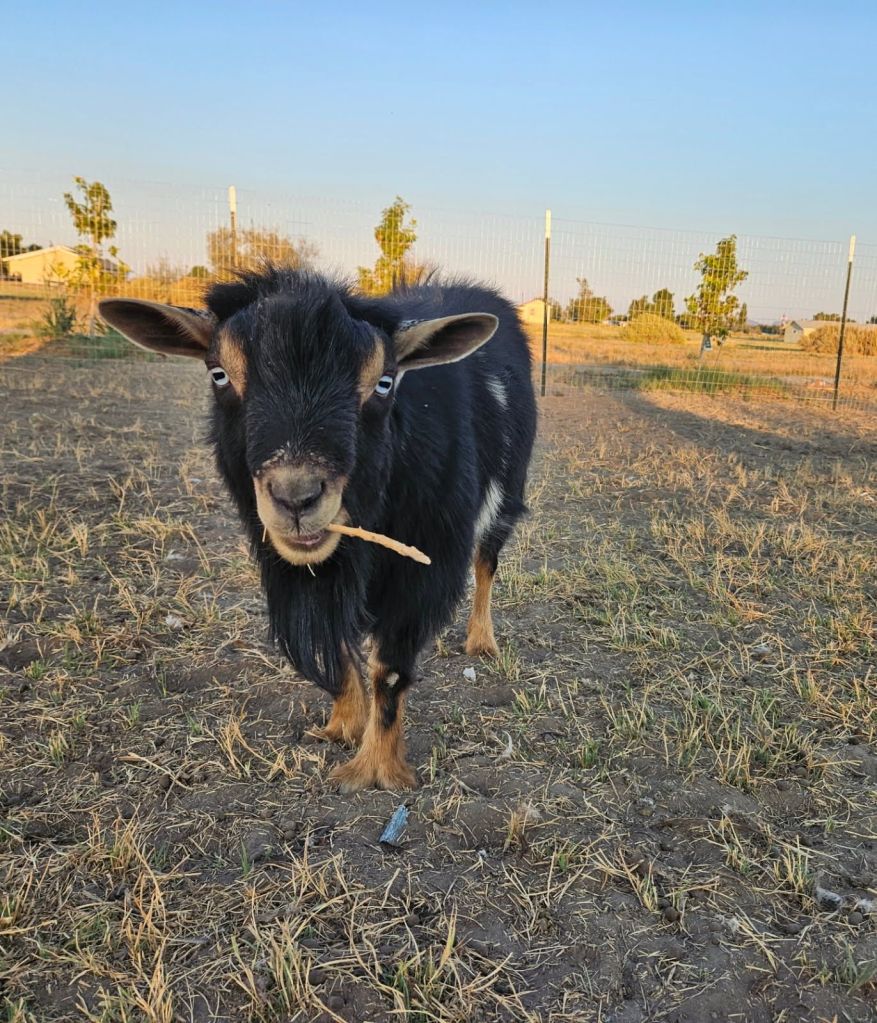
Frank when he was a kid Frank chewing on a stick
Thank you for reading. Please share, follow, or comment!
When we first stepped into the goat world, we were brand new to everything. We had the excitement, the dreams, tiny bit of knowledge for what we were doing. But we were ready.
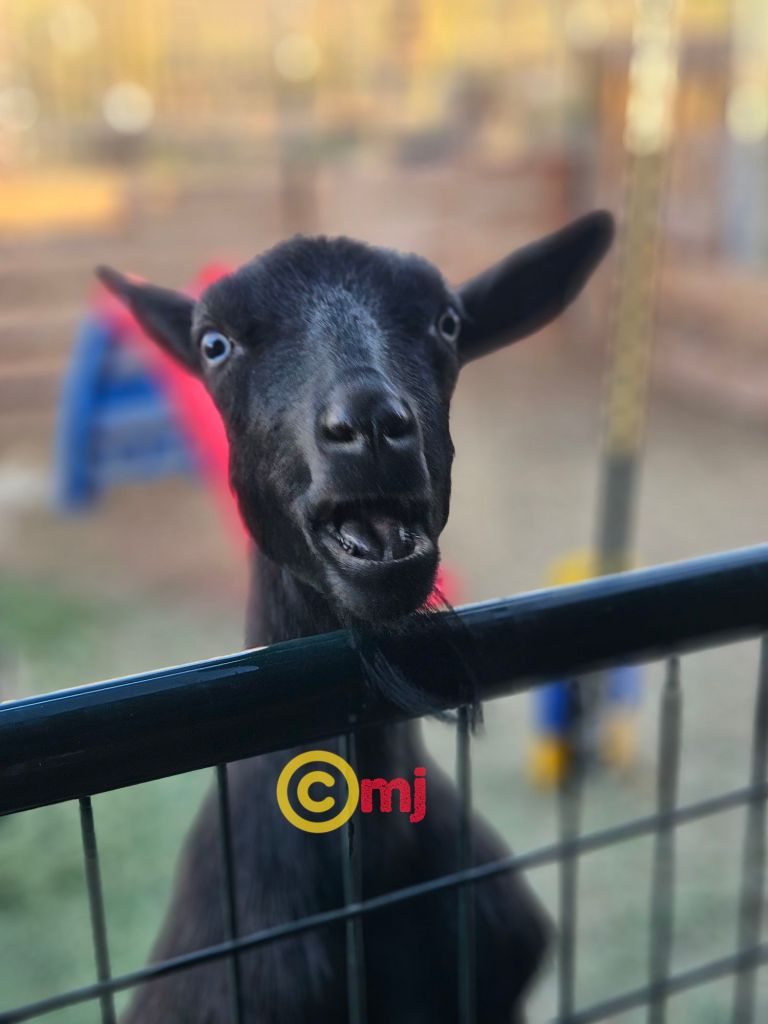
One of the very first goats we brought home was a little Nigerian Dwarf doe named Nightmare. Now before you panic over the name, let me explain.
Nightmare is actually one of the sweetest goats we own. She just somehow ended up with a name that sounds like she should be starring in a horror movie instead of standing in the pasture looking adorable with her beautiful blue eyes.
Her name actually came from Mr. Nightmare, a YouTuber my daughter loves listening to. At the time, my daughter was always watching his videos, so when it came time to name this little blue-eyed goat, “Nightmare” somehow felt perfect.
The moment my daughter saw Nightmare’s photo, it was over. Love at first sight.
And honestly? Nightmare knew it too. Since she was a bottle baby, she bonded hard with my daughter. Everywhere my daughter went, Nightmare followed close behind like a tiny four-legged shadow. Feeding goats, walking around the yard, carrying buckets, sitting outside — there was Nightmare, right there in the middle of everything.
Bottle babies have a special kind of personality. They are sweet, affectionate, and completely convinced they are people.
Nightmare definitely fits that description. She loves attention and, like most goats, she also believes she has very important opinions to share at all times. If there is news happening anywhere on the property, Nightmare is determined to announce it to everyone with dramatic goat commentary.
She also has two half siblings that share the same father but have different mothers, which somehow makes family gatherings in the pasture feel slightly like a soap opera.
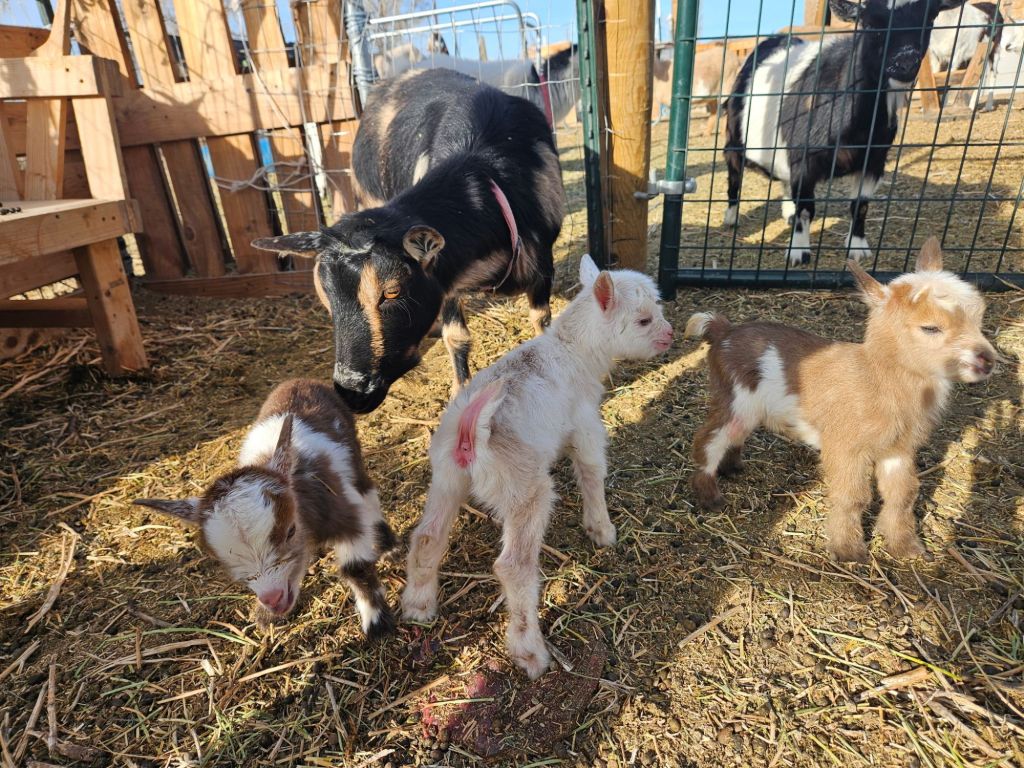
This year was especially exciting because Nightmare had her very first kidding. And she did not do things halfway. She gave us triplets!
Of course, being goats, she decided the best time to deliver them was during the wee hours of the morning while we were asleep. We were honestly disappointed we missed it because we really wanted to be there for her first kidding.
But walking out that morning and seeing Nightmare standing there proudly with her three babies beside her was worth it. She had this look on her face that practically screamed: “Yeah… I did that.”
And honestly, she deserved to brag a little. Her babies eventually went to a wonderful home where they are loved and spoiled, and luckily for us, we still get updates and pictures of them. Now that Nightmare is in milk, she’s doing well on the milking stand… mostly.
She becomes just a little dramatic when my daughter is nearby because apparently eating grain from the feeder like a normal goat is unacceptable. No, Nightmare would much rather have my daughter stand there and hand-feed her like royalty. Spoiled? Absolutely.
Being a first freshener, she is not producing a huge amount of milk yet, but that is completely normal. We are excited to see how she matures and what her production will look like after her next freshening.
No matter how many goats join our herd over the years, Nightmare will always hold a special place in our hearts.
She was one of our first goats. One of our first bottle babies. And one of the goats that taught us just how easy it is to fall completely in love with this crazy goat life.
Nightmare when she was a kidNightmare on the milking stand
Baby Nightmare walking with my daughter
Thank you for reading! Please share, follow, or comment!
The one everyone listens to. And no matter how much we goat owners would love to think it’s us… it usually isn’t.
In my herd, I have a mix of breeds — French Alpine, Nubian, Mini Nubian, LaMancha, Mini LaMancha, and Nigerian Dwarf. So naturally, you would assume the herd queen would be one of the larger girls.
Nope.
Mine is a tiny Nigerian Dwarf doe named Mazikeen.
And honestly? I didn’t even realize she was running the entire operation until she left the pen. At one point, I had actually considered selling Mazikeen, but I waited because I wanted to see how her kids turned out first, how she handled milking, and what kind of mother she would be before making a decision.
While she was pregnant, she stayed in the main herd pen and everything was peaceful. Everyone got along. The goats behaved. Feeding time wasn’t chaos. Nobody was acting like they had lost their minds.
And I remember standing there thinking: “Wow. Look at me. I am absolutely crushing this goat-owner thing.” Turns out… it wasn’t me. It was Mazikeen.
When it was time for her to kid, we moved her over to the nursery pen. I didn’t think much about it at first.
But then things started changing. The does started getting rude with each other. Some became pushy with us. The jumping got worse. The biting increased, with eachother. Suddenly everyone was acting like tiny horned teenagers who had just discovered caffeine.
It got so bad that I even considered sending a couple of them to freezer camp — and some of those goats are my favorites. I couldn’t understand why everyone had suddenly turned into little buttheads.
Then my daughter said: “Mom… they didn’t act like this when Mazikeen was in here.” And just like that, it clicked. Mazikeen was the herd queen.
She was the one keeping everybody in line this whole time. The second she left, the entire herd fell apart like goat society had completely collapsed.
You know the saying: “When the cat’s away, the mice will play.” Well, apparently when the Nigerian Dwarf leaves, the whole herd loses its mind.
Now, Mazikeen already proved herself in every other category. She’s an amazing mother who fed all three of her kids without any issues. She’s wonderful on the milking stand. Calm, steady, easy to work with.
But now I had discovered something else: She helps run the herd better than I do. When we finally put her back in with everyone, she immediately went to work restoring order. She marched right back into that pen like a tiny security guard returning after vacation.
Oh, the other goats tried questioning her authority for about 5 minutes. Mazikeen shut that down quickly. A few days hours after Mazikeen had been in the main pen one of the doe’s tried to jump me and before I could even react, Mazikeen charged over and head-butted her away from me.
Then she stood next to me looking up like: “Don’t worry, Mom. She won’t be doing that again.” And honestly? I believed her.
So now I fully accept the truth. I may feed the goats. I may pay the hay bill. I may clean the pens. But Mazikeen runs the herd. My tiny Nigerian Dwarf may be small in size… but she has the biggest personality on the homestead!
Thank you for reading! Please share, like, or comment!
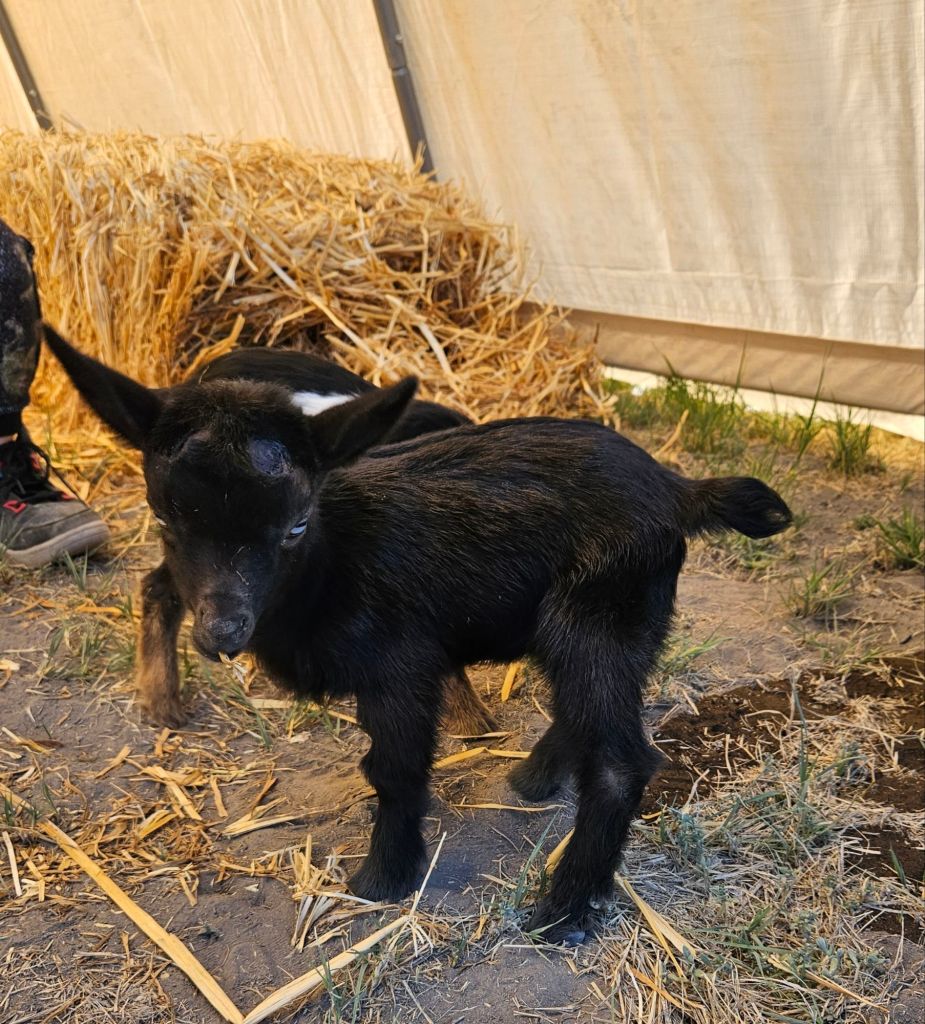
If you’ve been following along for a while, then you probably remember the blog post about Jane Doe’s hard delivery and the tiny little boys we honestly weren’t sure would make it through those first few hours.
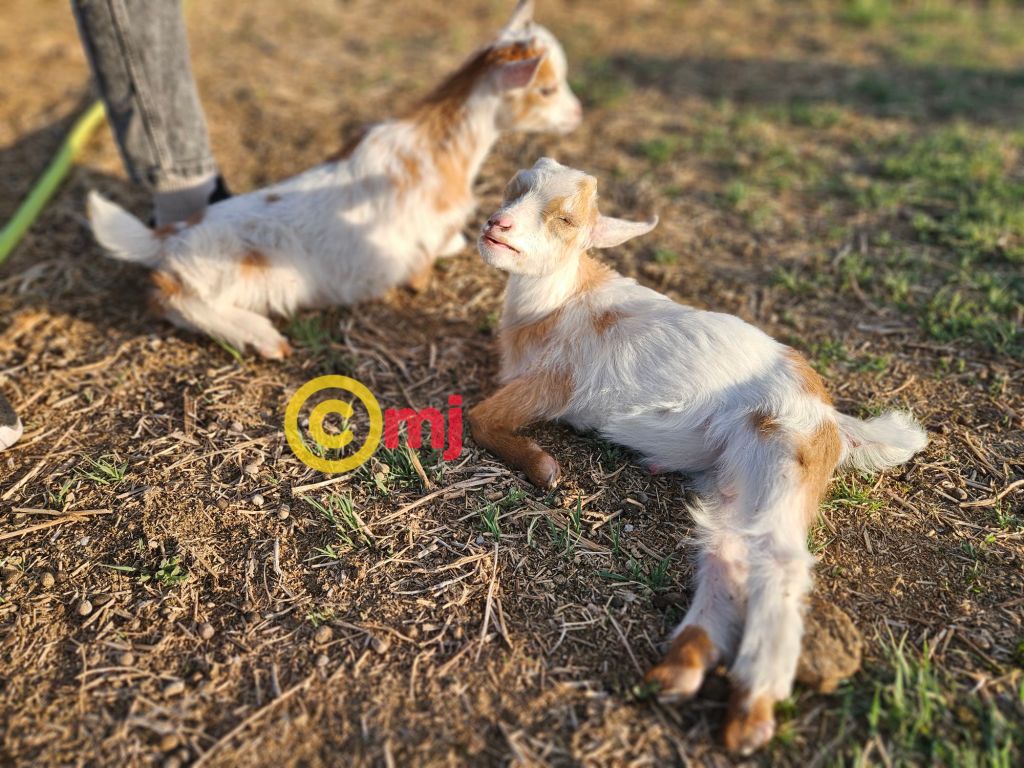
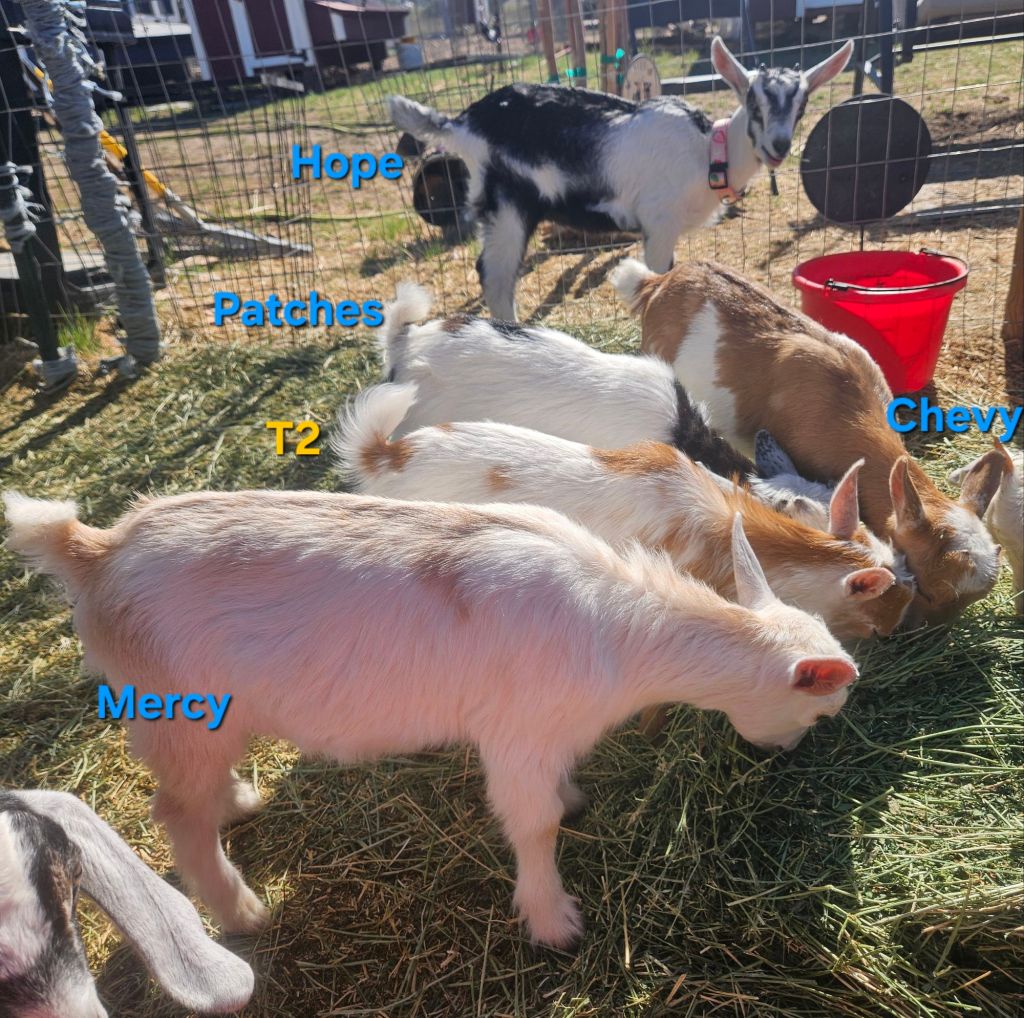
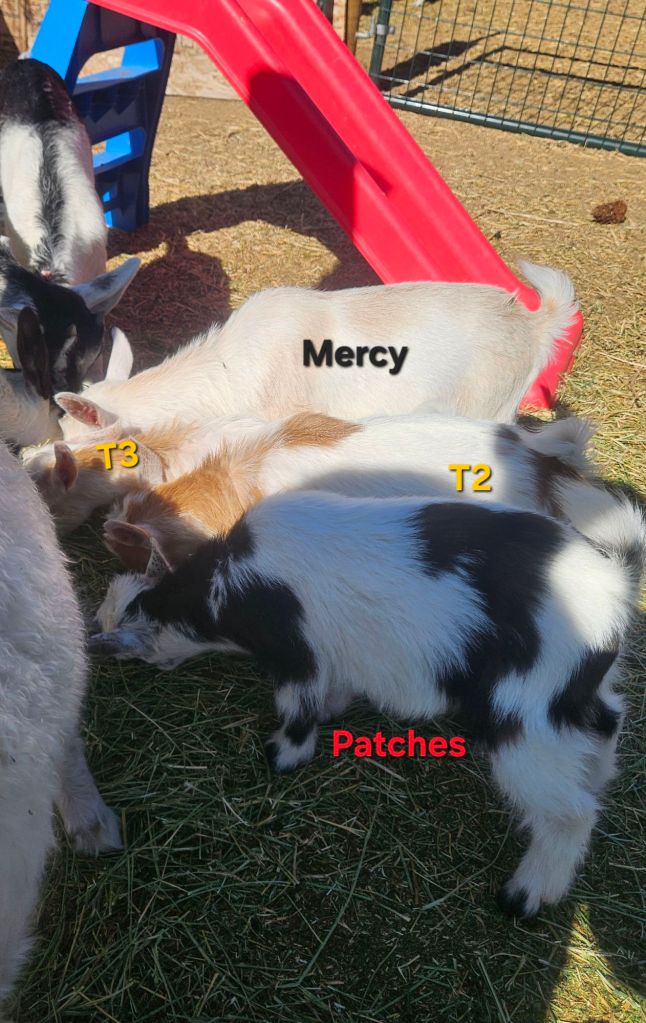
T2 and T3 are now officially 8 weeks old, and these two little fighters are doing wonderful. They’re eating hay like pros now and are down to two bottles a day. Watching them grow has honestly been one of the best parts of kidding season. Even though they’re thriving, they are still noticeably smaller than the other Nigerian Dwarf babies born after them.
The newer babies are already about three inches taller than T2 and T3. But don’t let their tiny size fool you. These boys are 100% bucklings. Recently they started acting what we lovingly call “bucky.” If you know, you know. Suddenly there’s the little buck noises, the dramatic curled lip, and the nonstop chasing of doelings around the pen like they’re the most important goats on the farm.
They may be miniature-sized, but apparently nobody told them that. It’s honestly hilarious watching these tiny little guys puff themselves up and strut around like full-grown bucks. One minute they’re bouncing off hay bales, and the next they’re making faces like they pay the meals around here.
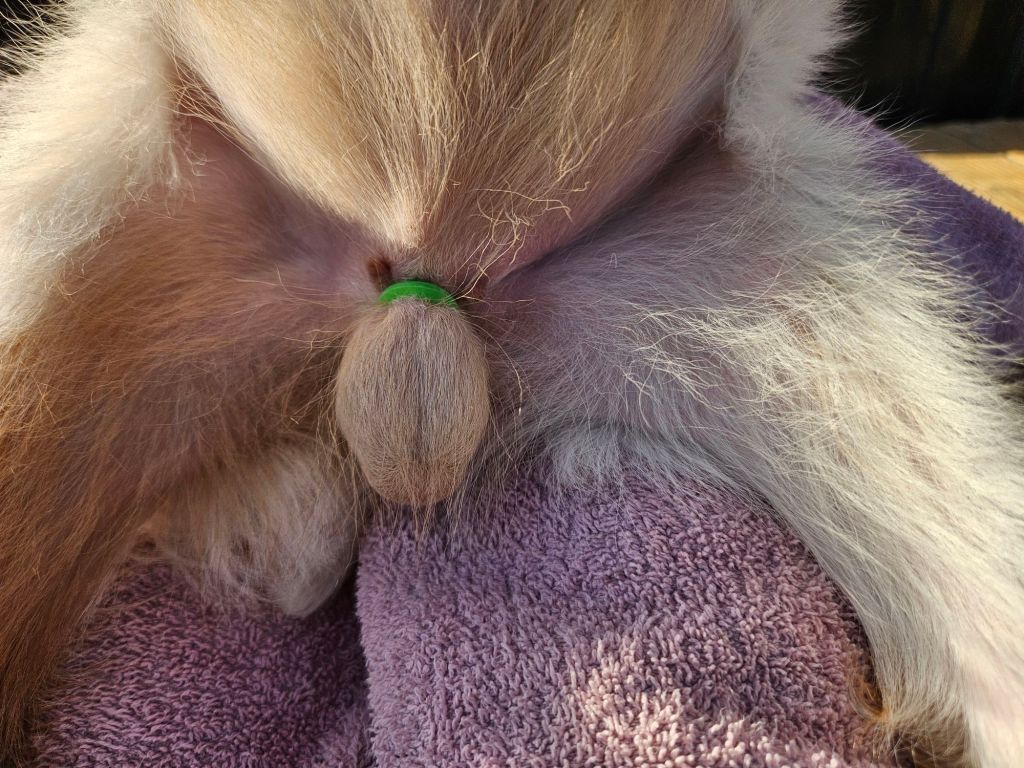
Today is another milestone for T2 and T3 — they’ll be getting banded. For those who may not know, banding is a common and bloodless method of castrating (or “wethering”) male goat kids. A special tool called an elastrator places a very tight rubber band around the top of the scrotum. The band cuts off blood flow to the testicles, which eventually dry up and fall off on their own over the next couple of weeks.
It can cause some discomfort at first, and yes, the boys will probably spend a little time questioning all of their life choices afterward. But when done correctly and at the proper age, banding is generally safe, effective, and commonly used for pet and companion goats.
As hard as their beginning was, seeing T2 and T3 bouncing around acting like tiny troublemakers feels like a huge victory. These little boys may be small, but they’ve proven from day one that they are tough. And honestly? Watching the smallest babies turn into healthy, mischievous little goats never gets old.
As you can see in these other photos they are noticeable smaller than the babies that are younger than them
Thanks for reading, please share, comment, and follow.
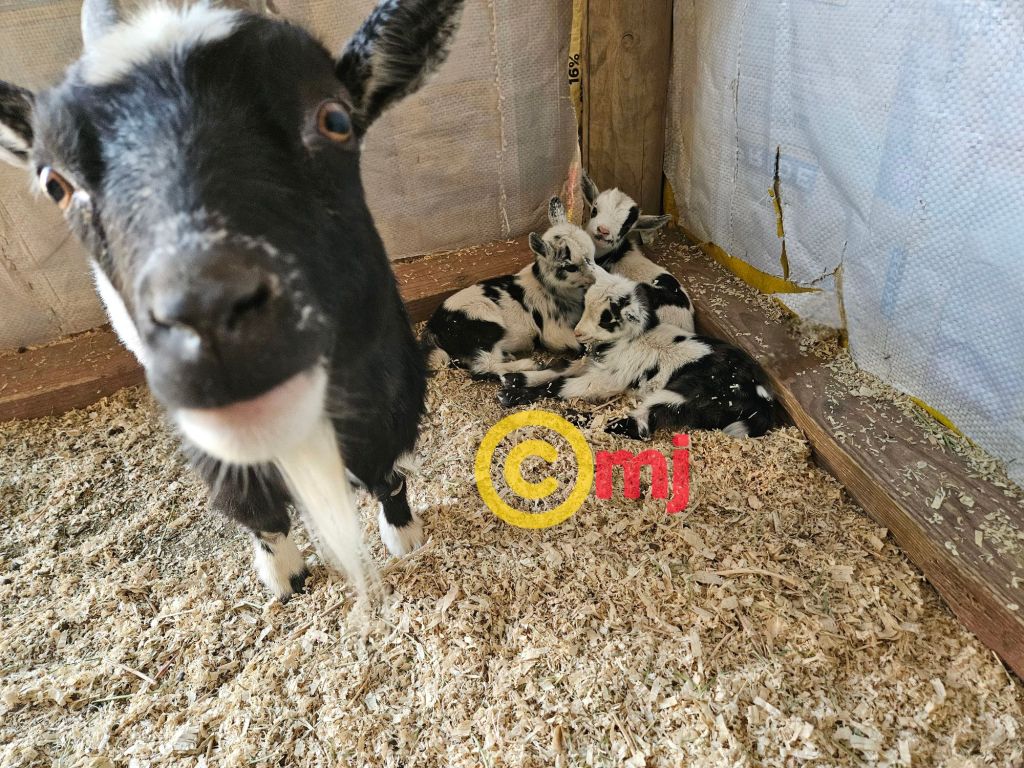
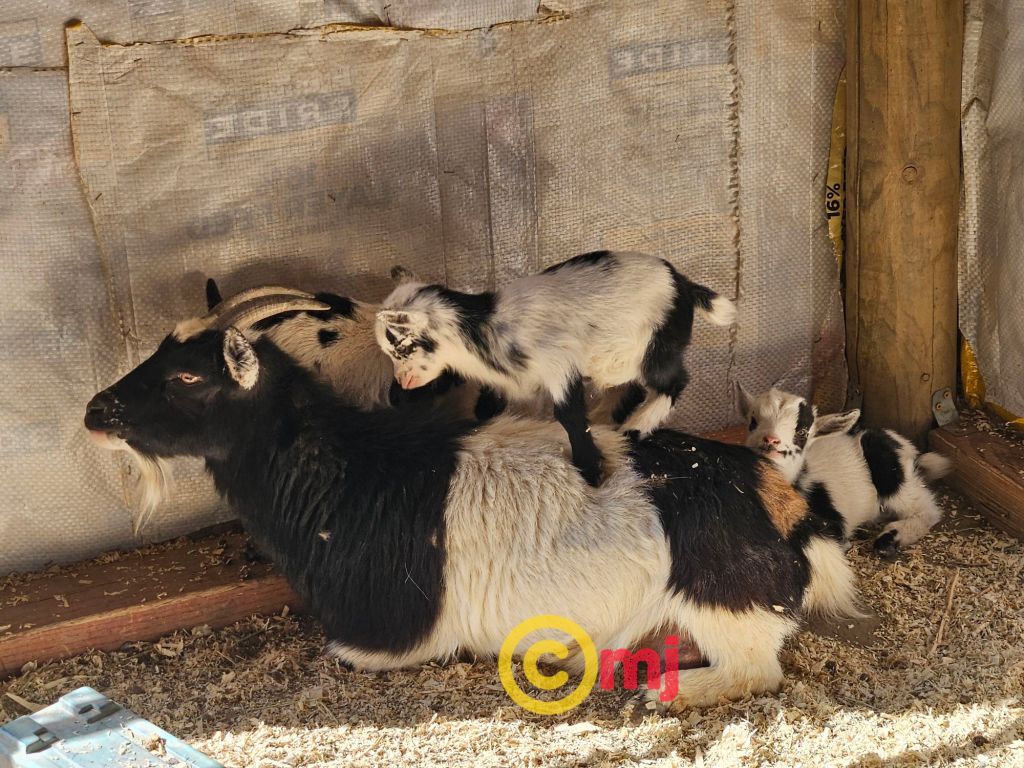
The barn is loud by morning light, With tiny hooves and playful fights. The coffee’s cold, the chores are long, But somehow still… the days feel strong.
The mama goats all softly call, To babies big and babies small. They nudge them close, they stand up tall, And somehow always love through all. A mother’s work is much the same, Though ours may look a little strange. With muddy boots and hay-filled hair, And twenty things that need repair.
We feed the kids, we mend the fence, We lose our minds at least “ten-tenths.” Yet in the chaos, dirt, and noise, There’s endless love and endless joy. So here’s to moms both far and near, Who wipe the tears and calm the fear.
And here’s to goats — because somehow, They teach us all to love right now. Happy Mother’s Day to every mama human, goat, and everything in between